One-piece Post Binding with Interior Hinges
by Elaine Reidy SchleferThis is the post-binding structure that was in use at Carolyn Horton's studio for many years. It looks like a bound book from the outside, and the screws do not show when the volume is opened. It is neater and less bulky than 2-part and 3-piece post binding structures. Since it does not resemble a photo album or a scrapbook, it is especially appropriate for encapsulated continuous texts.
Construction of Post-Binding Hinges
For each hinge, have ready:
Strip of 2-ply museum board " wide and 1" longer than the pages
Strip of 20-point folder stock, the same length as the museum board (above) and a hair wider
Strip of bookcloth 6" wide and the length of the above
- Glue out the strip of 2-ply and place it one inch from the edge of the cloth. Rub it down.
- Glue out the other side of the 2-ply and fold the longer side of the cloth over it. Rub well and fold the cloth back to the edge of the 2-ply.
- Glue out the folder stock and place it on the folded edge of the cloth. Glue out the other side of the folder stock, fold the cloth over it and rub. You will now have a V-shaped hinge. Make the second one.
- Cut the hinges " longer than the pages. Tape the two 2-ply sides together,folding back the other sides of the hinges. Trace the holes from a page onto the 2-ply side of the hinges, leaving 1/16" margin at head and tail. Drill holes. Mark each hinge TOP before taking off the tape.
The Binding
- Make a case: The case is the same as for the case of a clamshell box with a flat spine. Make the joints 1« times the thickness of the boards wide. NOTE: Since the pages do not lie absolutely flat against the spine board in this type of binding, there is a tendency to underestimate the foredge square. Be generous.
- To measure the width of the spine board: (Use of a combination square makes this easier)
- For paper textblock: the pages, plus spacers if any, plus the two hinges.
- For encapsulated textblock: the thickest part of the textblock (usually just beyond the spine weld).
- Glue in the hinges, with the smaller flap on the spine and the longer one on the board. Make sure the entire hinge sits on the spine board, not in the joint.
- Insert screws and pages. Line the boards with paper or cloth.

Fig. 1

Fig. 2. The post binding, open, with hinge closed
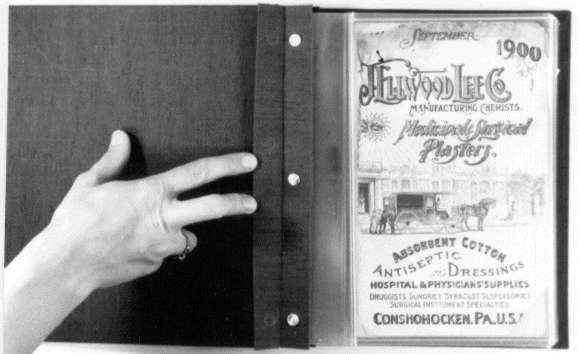
Fig. 3. The post binding, open, with hinge open

Fig. The outside of the post binding
Elaine Reidy Schlefer, Preservation AdministratorGladys Brooks Book and Paper Conservation Laboratory
New York Academy of Medicine
Publication History
Received: Fall 1994
Paper delivered at the Book and Paper specialty group session, AIC 22nd Annual Meeting, June 11, 1994, [PLACE].
Papers for the specialty group session are selected by committee, based on abstracts and there has been no further peer review. Papers are received by the compiler in the Fall following the meeting and the author is welcome to make revisions, minor or major.